Hood Range Installation St. John's
Installing Hood Range
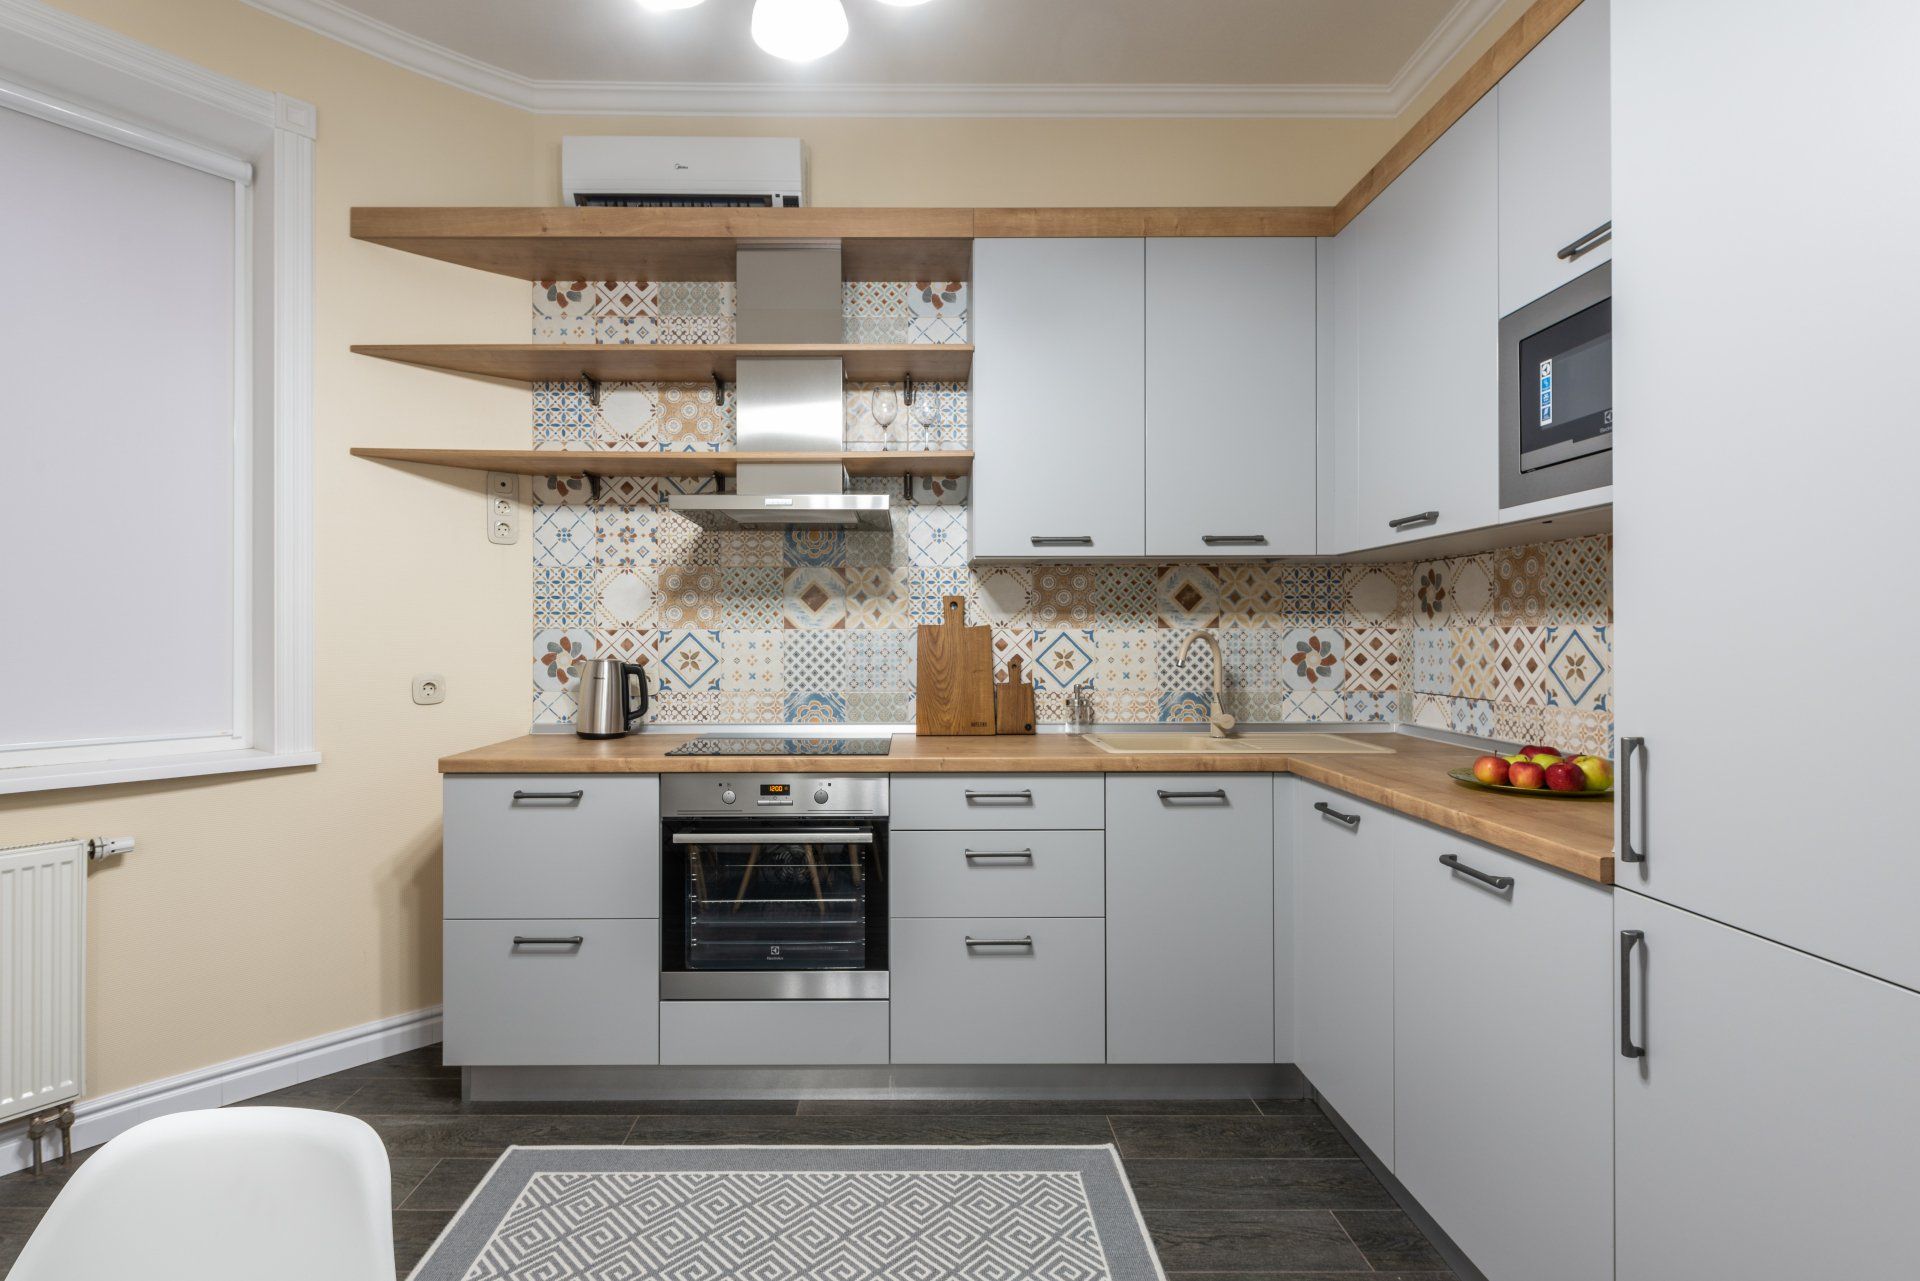
Installing a new hood range in your kitchen is a great way to update the look of your kitchen and improve its ventilation. Although these types of jobs can be intimidating to initiate, the benefits are often well worth the effort.
At Handyman Services St. John's we have extensive experience when it comes to the installation process of hood ranges. Whether you're looking for advice on installing your own, or would like for us to come in and do it for you, our team is here to help.
How To Install Kitchen Hood Range
If you are feeling up to the challenge of installing your own hood range then there are a few things to keep in mind. First, you'll need to make sure that the chosen location for your new hood range is properly ventilated.
This means ensuring that there is an adequate air flow to and from the area where the hood range will be installed. Additionally, it's important to make sure that the area around the hood range is free of any combustible materials. This includes things like paper, cloth, and even some types of plastic.


Request a free estimate!
Steps to install hood range
Once you've chosen the perfect location for your hood range, the next step is to begin the installation process. We've compiled a simple set of guidelines to follow that will help your installation process go smoother.
1. Start by disconnecting the power to the area where you'll be working. This is an important safety precaution that should never be ignored.
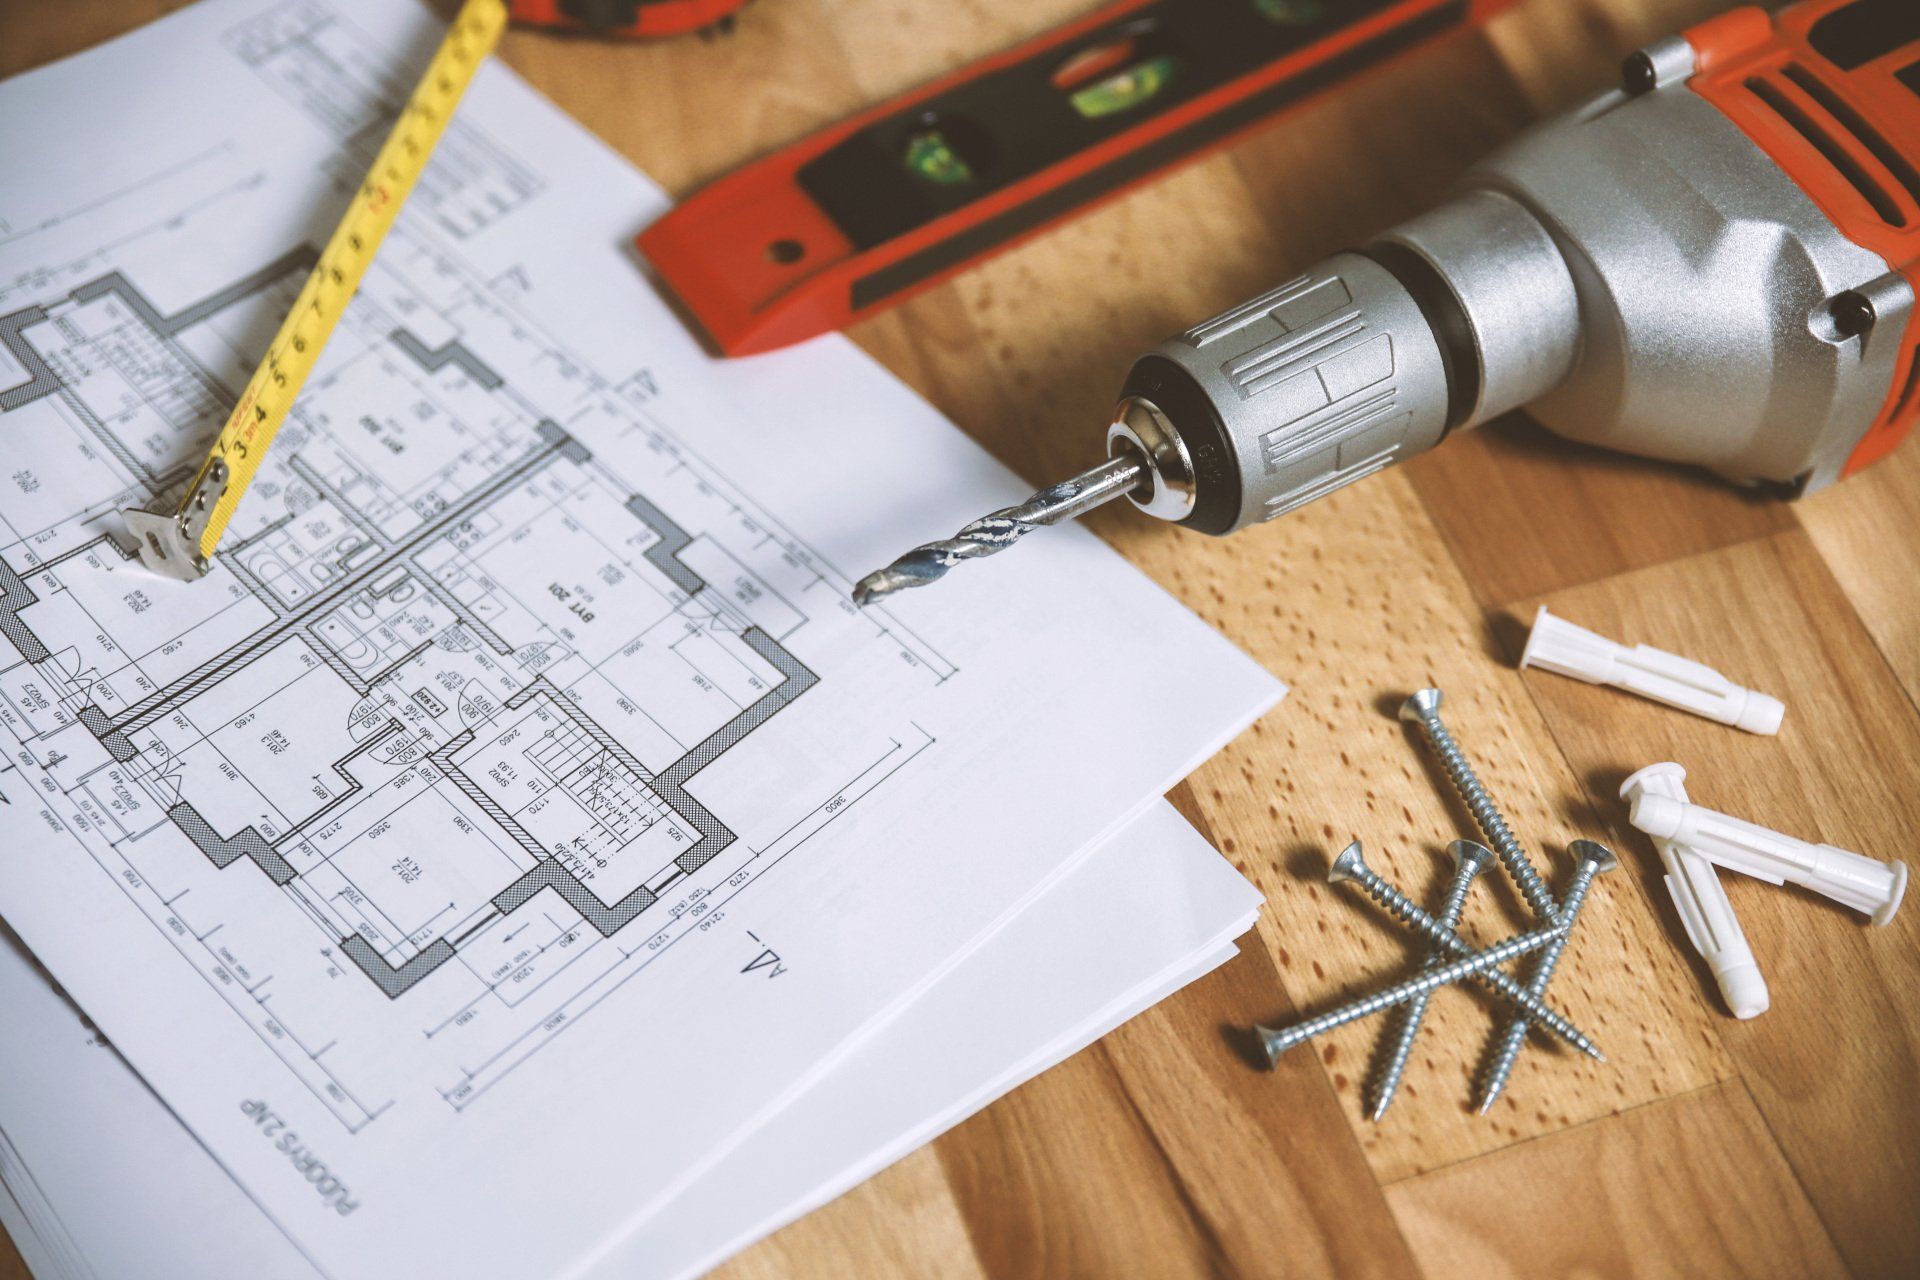
2. If your hood range is going to be mounted to the wall, use a stud finder to locate the studs in the wall. You'll then need to mark the location of the studs so that you can properly mount the hood range.
3. The next step is to install the mounting bracket for your hood range. This will be done by using screws and wall anchors. Be sure to use the appropriate size screws and wall anchors for your particular model of hood range.
4. Once the mounting bracket is in place, you can then begin to install the hood range itself. Start by attaching the exhaust duct to the back of the hood range. Then, secure the hood range to the mounting bracket using the screws that came with your particular model.
5. Finally, turn on the power to the area and test out your new hood range. Make sure that it is properly ventilated and that all of the screws are tight.

If you run into any problems during the installation process, or have any questions, our team at Handyman Services St. John's is always here to help. Give us a call today and we'll be happy to assist you.